For a manageable DIY cat tree, start with a low, broad wooden perch rather than a tall tower. Build a rigid base and supported platform, add secure grip, and inspect every joint before access. Cats Protection emphasizes sturdy scratching furniture that does not wobble. Keep tall climbing and wall-mounted projects for a well-designed plan.
Here is a low box-style perch with an open front. This is an illustrative plan, not a load-tested product. A skilled woodworker should confirm the materials and joints for your cat before use.
What should you decide before buying wood?
Measure the space your cat needs to turn and lie with ease, then compare it with the proposed top. Check whether they can reach a low perch with ease. If your cat avoids jumping or has changed how they move, ask your vet before designing climbing equipment around the problem.
This plan keeps the platform directly over a box-shaped support. It avoids a small top balanced on one tall pole. This plan is for someone comfortable making accurate cuts and sound wood joints. Beginners should have a woodworker check the assembly rather than guess at fasteners.
For a tall tree, large overhangs, several cats jumping together, or wall-mounted platforms, use a complete structural plan suited to the installation. Adding height changes the forces on a base. However, a successful low perch does not establish that its joints can support another tier.
If you are comparing a homemade perch with buying one, our small-apartment cat tree guide covers choosing and placing ready-made options. This article focuses on building the low perch itself. For other choices, see our indoor cat enrichment guide.
What goes into a low DIY cat tree plan?
Animalia’s illustrative dimensions: this example uses plywood that actually measures 3/4 inch thick. The finished outside footprint is 24 by 24 inches, and the top is 13 1/2 inches above the floor before its covering. These are design choices, not vet recommendations or a guaranteed size for every cat.
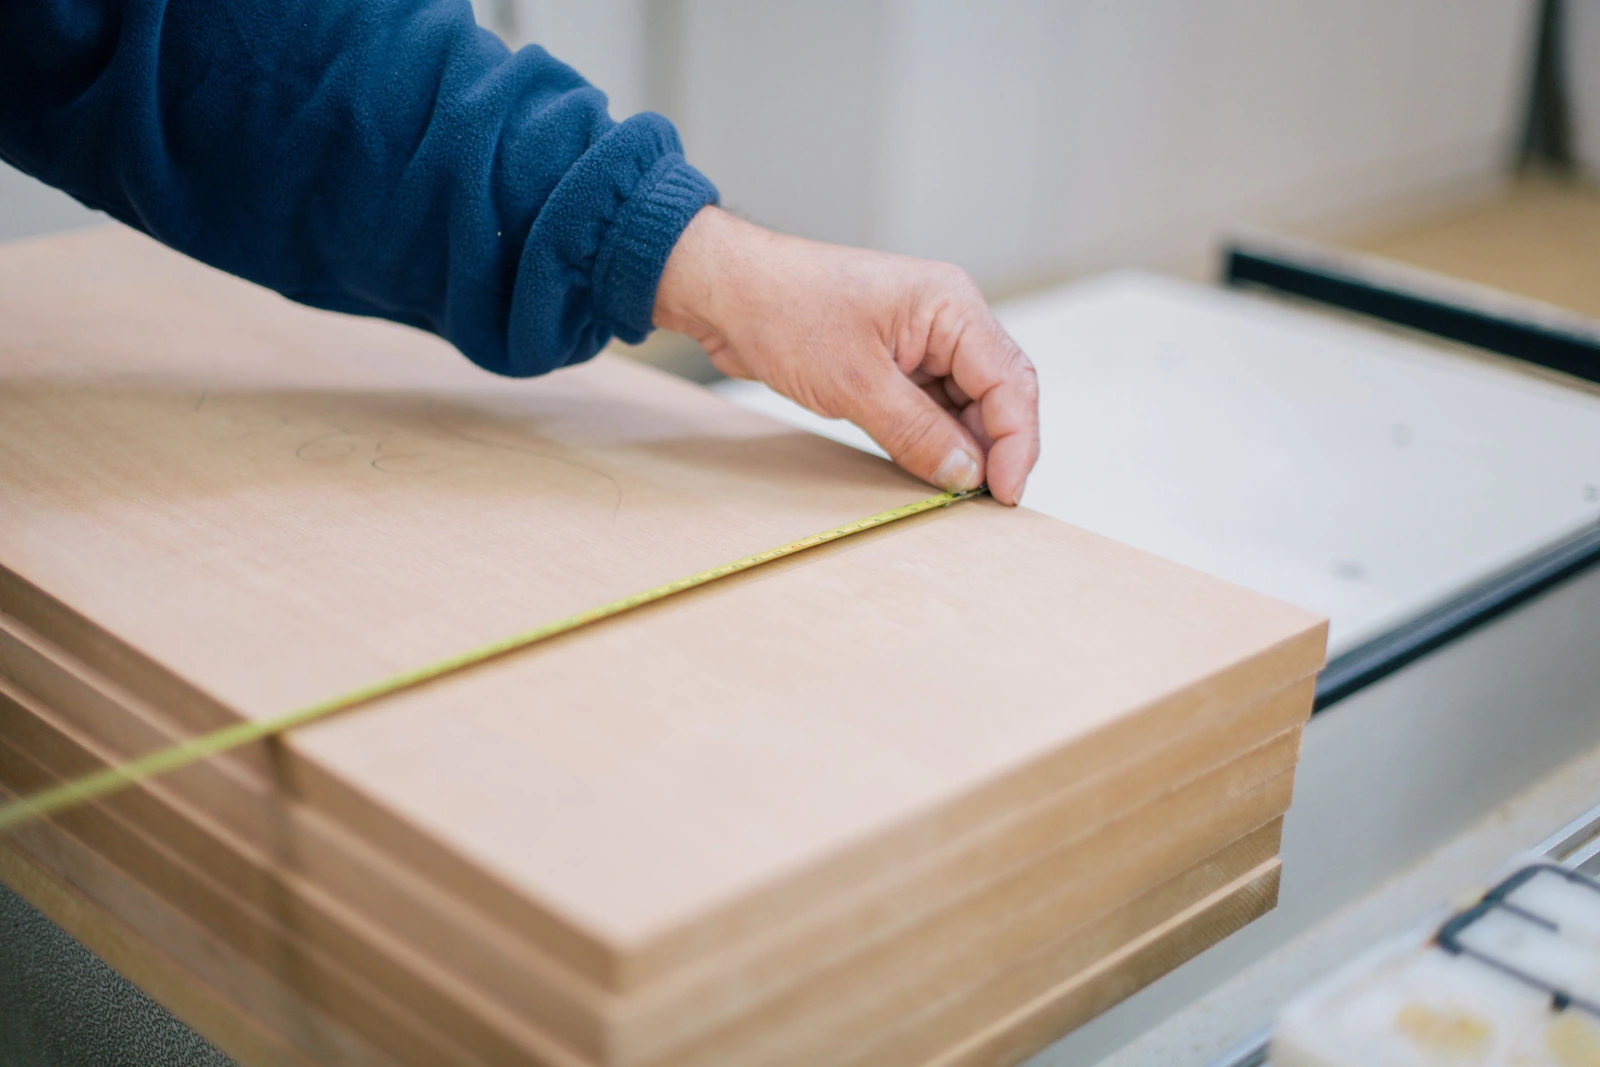
| Part | Quantity | Finished cut size | Position |
|---|---|---|---|
| Base and top | 2 | 24 × 24 inches | Horizontal panels |
| Side panels | 2 | 12 × 23 1/4 inches | Upright, flush with the front edge |
| Back panel | 1 | 12 × 24 inches | Across the rear edges of the sides |
| Side support cleats | 4 | 1 1/2 × 1 1/2 × 20 1/4 inches | Inside each side at top and bottom |
| Back support cleats | 2 | 1 1/2 × 1 1/2 × 19 1/2 inches | Inside back, between the side cleats |
| Rear corner cleats | 2 | 1 1/2 × 1 1/2 × 9 inches | Inside rear corners, between horizontal cleats |
Where each support goes in this example
For this example’s top view, measure x from the left edge and y from the open front. Both run from 0 to 24 inches. The back panel occupies y = 23 1/4 to 24. Use the positions below for both the upper and lower horizontal cleats.
| Support | Left-to-right position, x | Front-to-back position, y |
|---|---|---|
| Side horizontal cleats | 3/4 to 2 1/4, or 21 3/4 to 23 1/4 inches | 1 1/2 to 21 3/4 inches |
| Back horizontal cleats | 2 1/4 to 21 3/4 inches | 21 3/4 to 23 1/4 inches |
| Rear vertical corner cleats | 3/4 to 2 1/4, or 21 3/4 to 23 1/4 inches | 21 3/4 to 23 1/4 inches; upright between horizontal rows |
The side panels stand on the base. The back fits behind them, leaving a 24-inch total depth. The top covers the assembled walls. The front remains open, so check its usable opening against your cat before cutting. If your sheet is thinner than 3/4 inch, recalculate every mating dimension; do not quietly substitute it.
Cleats are solid wood strips that give the adjoining panels more material to fasten into. The dimensions above are actual sizes. Lumber sold under a nominal size may measure differently, so measure the wood itself before preparing the cut list.
Gather materials, hardware, and safe tools
Use sound plywood and solid wood with known condition and origin. Reject split, rotten, damp, chemically treated, or contaminated scraps. For this first project, skip found branches whose species, treatment history, or internal damage you cannot establish. A decorative branch is not always a safe structural support.
- Plywood panels and straight solid-wood cleats from the cut list.
- Wood screws suited to the wood and joint, a drill/driver, pilot bits, countersink bit, clamps, square, measuring tape, and sanding supplies.
- A stable nonslip floor contact layer and a securely fitted, replaceable top covering.
- Eye protection, safe dust protection, and the tools you are trained to use. Have the supplier cut panels if you cannot cut them safely.
Select screw length by measuring the joint. For example, a 1 1/2-inch screw through a 3/4-inch panel enters a 1 1/2-inch cleat by about 3/4 inch without reaching its far face. That describes geometry, not sufficient strength by itself. A woodworker should confirm screw type, spacing, and engagement; avoid drywall screws as an automatic substitute.
Keep pets away while cutting, drilling, sanding, or finishing. Do not rely on glue, a staple, carpet, or rope to hold the structure together. If using adhesive or a coating, follow its maker’s instructions and confirm suitability around pets, including full cure before access.
Assemble the box and secure its platform
Dry-fit first, then make a square, rigid box before attaching any fabric. Work on a flat surface and check that each panel sits where the cut list intends. Correct a poor fit now. A padded covering can hide a bad joint without making it stronger.

- Sand every cut edge and round sharp corners. Check both faces for splinters or defects.
- Mark the side-panel positions on the base. Place their outside faces flush with the base edges and their front edges flush with its front. The 3/4-inch back panel fits behind the sides.
- Fit the horizontal cleats inside the side panels, flush with their top and bottom edges. Center them along each side, leaving 1 1/2 inches clear at both ends. Clamp, predrill, and screw through each side panel into its cleats.
- Fit the back between the base and future top. Clamp its two 19 1/2-inch horizontal back cleats flush with the back panel’s top and bottom edges, between the side-cleat rows. Predrill and screw through the BACK PANEL into BOTH horizontal back cleats before adding the base or top. Fit the 9-inch vertical corner cleats between the horizontal rows. Fasten the back and adjoining sides into these corner cleats to connect the walls.
- Check squareness, then fasten the base upward into the bottom horizontal cleats. Turn the assembly carefully and fasten the top downward into the upper horizontal cleats. Keep all fasteners clear of one another.
- Countersink heads flush without weakening the panel. Inspect inside and outside for protruding points, loose joints, and splits.
Use mechanical connections for each panel-to-cleat joint, not just the outer shell. If any step leaves you uncertain about a connection, have the assembly checked before continuing. No cat should be used to test whether an uncertain joint will hold.
How do you add grip without loose hardware?
Fit a secure top covering that provides traction and cannot slide or bunch when the cat steps on it. Keep seams, edges, and attachments inspectable. Check underneath and inside the box too. Avoid exposed staples, sharp hooks, long ties, loose loops, and dangling toys on cords.
A separate scratching surface is simpler than turning this low box into a tall post. Cats Protection recommends a stable surface that suits the cat’s scratching style and allows a full stretch. Use our scratching-post guide to check that need. The short side of this perch should not be presented as a full-height scratcher.
If adding a replaceable flat scratching panel, attach it securely and check for fraying and reachable hardware. Avoid tight openings or ornaments that could catch claws or collars. Keep the platform clear enough for the cat to turn and leave freely.
Do not decorate the perch with unknown plants or loose natural materials. The ASPCA plant database can help check identified plants, but a plant listing does not certify a branch as sound construction timber. Ordinary, traceable building materials are easier to evaluate for this project.
Use a stop-or-use inspection before access
Animalia’s inspection checklist can reveal faults; it cannot create a load rating. Have a competent woodworker check the finished construction, especially if you changed a dimension or material. Keep the cat away until the frame is rigid, the coverings secure, and any adhesive or finish fully cured as directed.
| Check | Stop and correct it if | After correction |
|---|---|---|
| Floor contact | The base rocks, slides, or sits partly on a rug edge | Recheck on the intended floor |
| Frame | The box racks sideways or a panel moves at a joint | Repair the connection, then check the whole frame again |
| Top | It flexes noticeably, shifts, or has a loose edge | Review support and joints with a woodworker |
| Touch surfaces | You find splinters, exposed points, sharp heads, or loose loops | Inspect every reachable surface again |
| Covering | It lifts, slides, frays, or hides a fitting that needs inspection | Refit or replace it before access |
Place the finished perch in a calm, useful spot away from blind cords, unsecured windows, heaters, and doors that could strike it. Give the cat a clear route off. In a rental, plan the footprint using our rental-home resource guide rather than treating an improvised wall attachment as a solution.
Let your cat approach by choice. Do not place a reluctant cat on the platform or pull their paws across a scratch panel. If they ignore it, review comfort and location. Stop access whenever the perch loosens or the cat damages its covering, and inspect it regularly after use.
Frequently asked questions about building a cat tree
Can I build this without owning a saw?
A supplier or woodworker can cut the panels. You still need accurate measurement, drilling, countersinking, clamping, and sound assembly. If those tasks are unfamiliar, get practical help. Having precut wood does not remove the need to check joints and hardware before the cat uses it. Keep the cat out of the work area until all tools, offcuts, dust, and loose screws are cleared.
How much will a homemade cat tree cost?
Price the sheet material, cleats, hardware, covering, finish if used, cutting service, and any tools you lack. Compare that complete total with a safe ready-made option. Old tutorials’ bargain totals may depend on free scraps and owned tools, so they are poor guarantees for your budget. A lower cost is only useful if the finished item meets your cat’s needs and stays sound.
Can I add a second platform later?
Do not add another tier to this plan. Height, overhang, and jumping loads change the design problem. Start with a complete plan that accounts for those changes and the installation location. Reusing a low perch as the base of a taller tower needs a new structural check. Do not rely on extra weight or a wall tie to rescue a design that has not been assessed.
What if my cat chews the covering or rope?
Remove access if material loosens or can be swallowed. Replace the damaged surface and check again whether that material suits the cat. Contact your vet promptly if ingestion is suspected. Do not solve repeated chewing simply by adding more glue or hiding frayed ends. Keep damaged material away while you choose an option that the cat can use without pulling pieces off.
Is this a substitute for all climbing furniture?
No. It is one possible low resting surface, with limits that depend on the cat and construction. Other cozy choices may still be useful. Choosing a cat bed and our cat care hub cover related resting and home-setup decisions. Give your cat a choice of resting spots and let their willing use guide which ones you keep.
Begin with the measurements and confirm the joints before buying materials. Keep the finished perch out of use until its construction has been checked. Our cat care hub covers other ways to make a home useful and comfortable for cats.
Sources and editorial notes
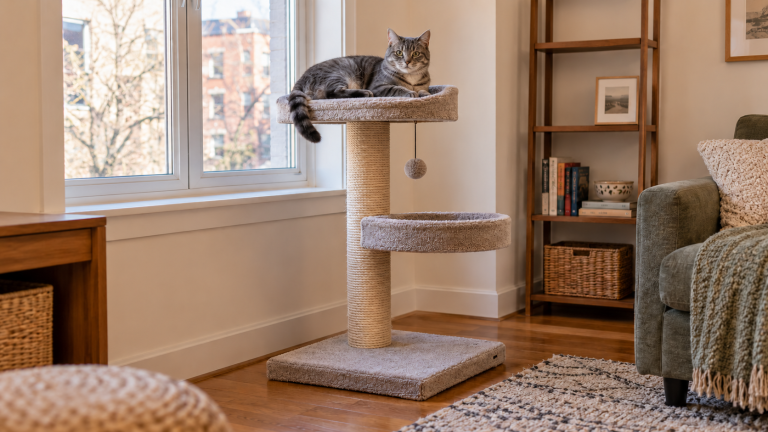
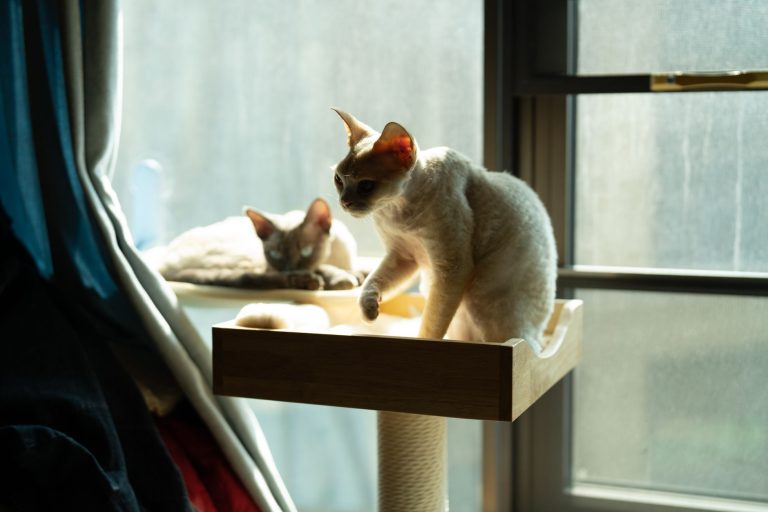
The dimensions and assembly sequence are an original illustrative planning example. Animalia has not built, load-tested, or certified this design. The cited welfare sources support the cat-care principles; they do not approve this structure or its dimensions. Stock photographs show illustrative furniture or woodworking, not a tested Animalia build.
Animalia Editorial. Last updated October 22, 2026. See our Editorial Policy.
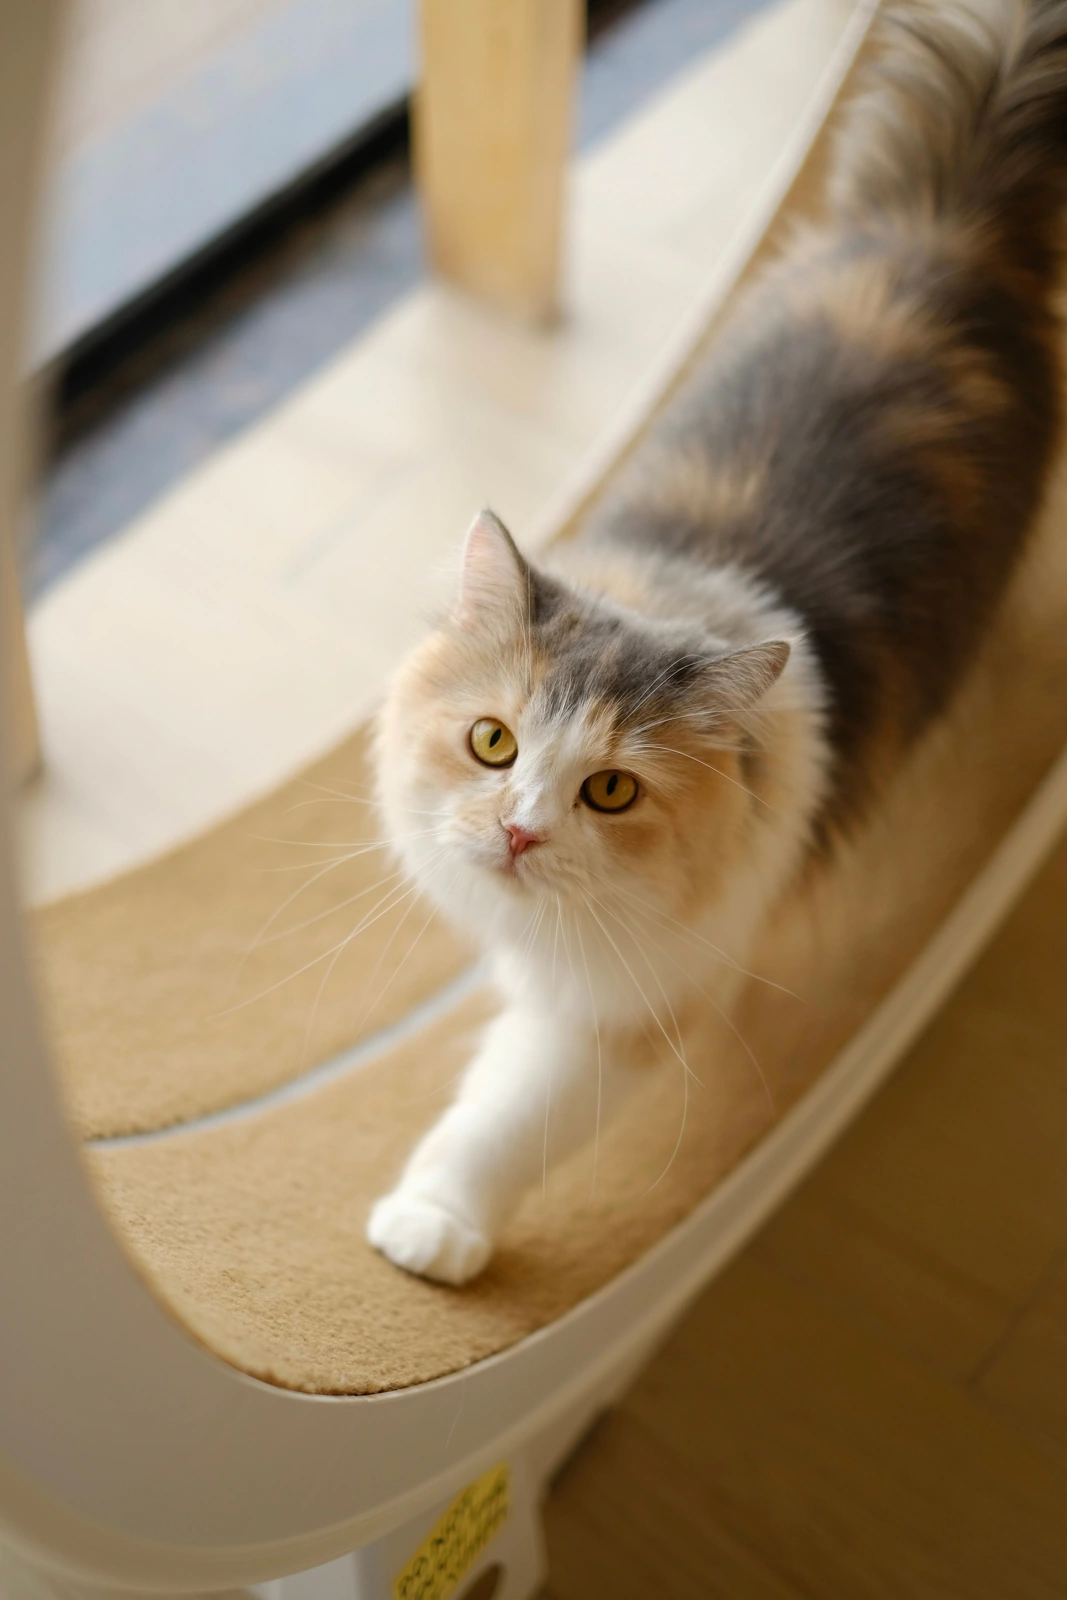
Featured photo: A long-haired cat stands on a curved covered platform. Stock furniture illustration, not a tested Animalia build. Photo: Alfredo Marco Pradil / Pexels.
Prepared with AI assistance and reviewed against the sources above.