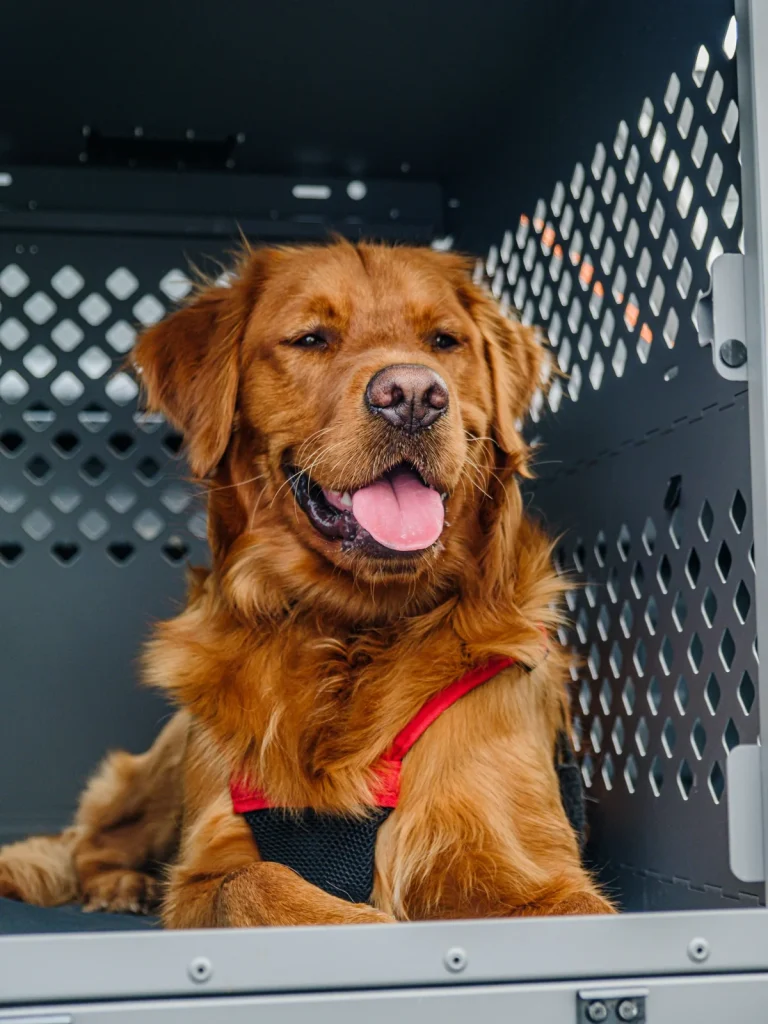
To put on a dog harness, first identify the design: an overhead harness slips over the head, a step-in harness goes on with the front feet, and a front-clip harness puts the leash ring at the center of the chest. Fasten the buckles, then adjust every strap until it is snug, with room to slide about two fingers underneath. Finish by checking that the harness cannot be pulled over the head and does not rub behind the front legs.
The steps for each type are below, followed by a gentle way to help your dog accept the harness if they are unsure about it.
Know your harness type
Lay the harness flat on the floor before you start. The shape usually tells you which type you have.
- Overhead (standard or vest) harness: has a neck loop that goes over the head and a loop or panel around the ribs. Laid flat, the openings look roughly like rectangles. The leash ring is usually on the back.
- Step-in harness: laid flat, it forms two triangles (a figure-eight shape). Your dog steps into it with the front feet and it fastens on the back, so nothing goes over the head.
- Front-clip (no-pull) harness: the leash ring sits at the center of the chest. Some, such as Easy Walk style harnesses, have a shoulder strap, a belly strap, and a horizontal chest strap. Others are shaped like an overhead or step-in harness with an extra front ring.
- Back-clip harness: the leash ring sits on the back near the shoulder blades. Many overhead and step-in harnesses are back-clip. Some harnesses have both a front and a back ring (dual-clip).
If your dog is nervous about things going over their head or about having their feet handled, that can help you choose: a step-in design avoids the head, and an overhead design avoids lifting the feet.
Before you start
- Choose a calm moment, not right before an exciting walk.
- Loosen the straps first. It is easier to tighten a loose harness than to force a tight one on.
- Have small treats ready. A second person feeding treats can help your dog stand still while you adjust the straps.
- Check the harness for frayed fabric or cracked buckles.
How to put on an overhead harness
- Stand, sit, or kneel beside or behind your dog while they stand or sit calmly.
- Undo the buckles and loosen the neck opening.
- Hold the harness so the leash ring (D-ring) will be on your dog’s back, then slip the neck loop over their head.
- If your harness has a front leg opening, guide one front leg through it so the leg sits between the neck loop and the rib loop.
- Bring the girth (belly) straps around the body behind the front legs and fasten the buckle. If the buckle will not reach, loosen the strap rather than pulling it tight.
- Adjust the neck straps so the front panel rests at the base of the neck, not against the throat.
- Adjust the girth straps so they sit behind the armpits without digging in.
- Check the fit (see below), then gently pull the harness forward toward the head. It should not slide off.
How to put on a step-in harness
- Lay the harness flat on the floor so you can see both triangles, with the buckles on top.
- Stand or kneel behind your dog.
- Place one front foot in each triangle. You can lift each foot gently or let your dog step in for a treat.
- Lift the two ends up around the shoulders and clip them together on your dog’s back.
- Adjust the straps so the harness is snug and centered.
- Check the fit and make sure the harness cannot be pulled over the head.
How to put on a front-clip (no-pull) harness
If your front-clip harness is shaped like an overhead or step-in harness, follow those steps above. The steps below are for the common design with a shoulder strap, a belly strap, and a horizontal chest strap, such as Easy Walk style harnesses.
- Keep your dog standing. Leave the shoulder strap buckled and unsnap the belly strap.
- Kneel at your dog’s side and slip the shoulder loop over the head so it rests across the shoulders, with the leash ring at the center of the chest.
- Adjust the shoulder strap so the rings that join the shoulder and belly straps sit above and behind the front legs on both sides.
- Reach under the belly and snap the belly strap closed. Adjust it until it is snug around the girth.
- Check that the shoulder and belly straps form a straight vertical line, out of the armpit area.
- Adjust the chest strap evenly on both sides so the leash ring stays centered. The strap should sit horizontally across the chest, without drooping or riding up toward the neck.
- Look from the side. The straps should form a sideways “T”. If they look like a sideways “Y”, the chest strap may need adjusting, or the harness may be the wrong size.
- Clip the leash to the ring on the chest.
For brand-specific harnesses such as the PetSafe Easy Walk, follow the maker’s fitting guide. Some animal welfare organizations note that harnesses with a strap straight across the front of the chest can limit shoulder movement, so they suggest using them for walking only and watching your dog’s gait.
How to check the fit
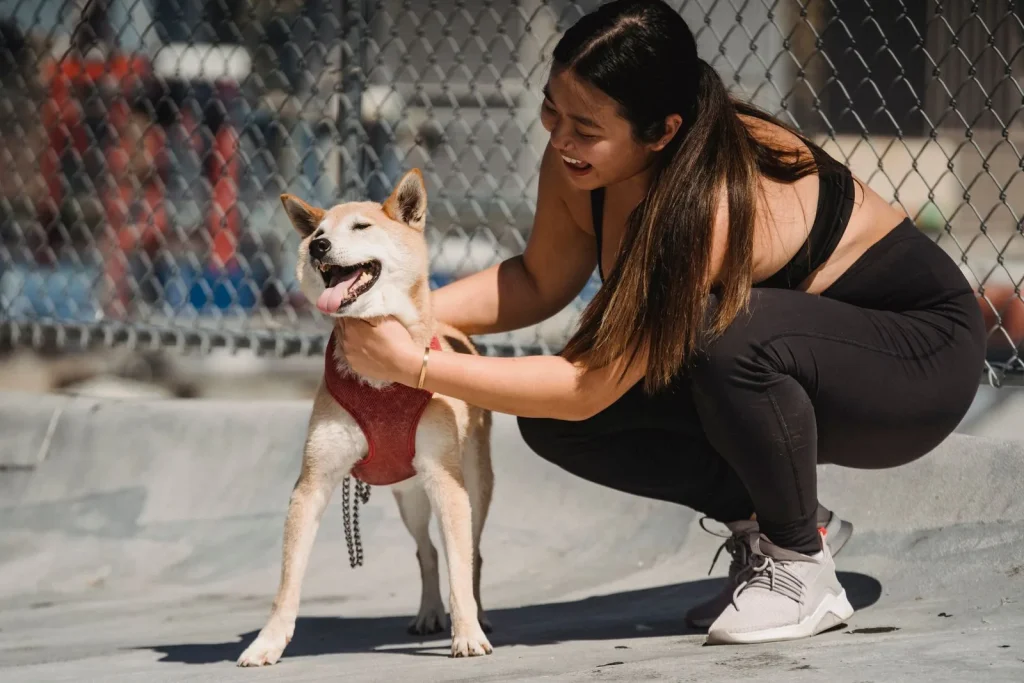
- Finger test: you should be able to slide two fingers under each strap. Some sources describe it as snug enough that you have to squeeze two fingers in, or that only one to two fingers fit. If you can fit your whole hand, it is too loose.
- Girth strap position: the strap around the body should sit behind the front legs and behind the armpits, without digging in or rubbing at the armpits or elbows.
- No throat pressure: the neck or chest strap should rest low on the chest, not across the throat.
- Free movement: watch your dog walk. The front legs should move freely and nothing should dig in.
- No escape: gently pull the harness forward and in different directions. It should not slip over the head.
- Recheck after the first walks: dogs may tense up the first time, and straps can loosen with pulling. Check again after a few minutes and after the first few walks, and look for any rubbed or red skin.
- Puppies and changing dogs: puppies grow quickly, so adjust the straps or move up a size as needed. Recheck the fit after grooming or weight changes too.
Help your dog get used to the harness
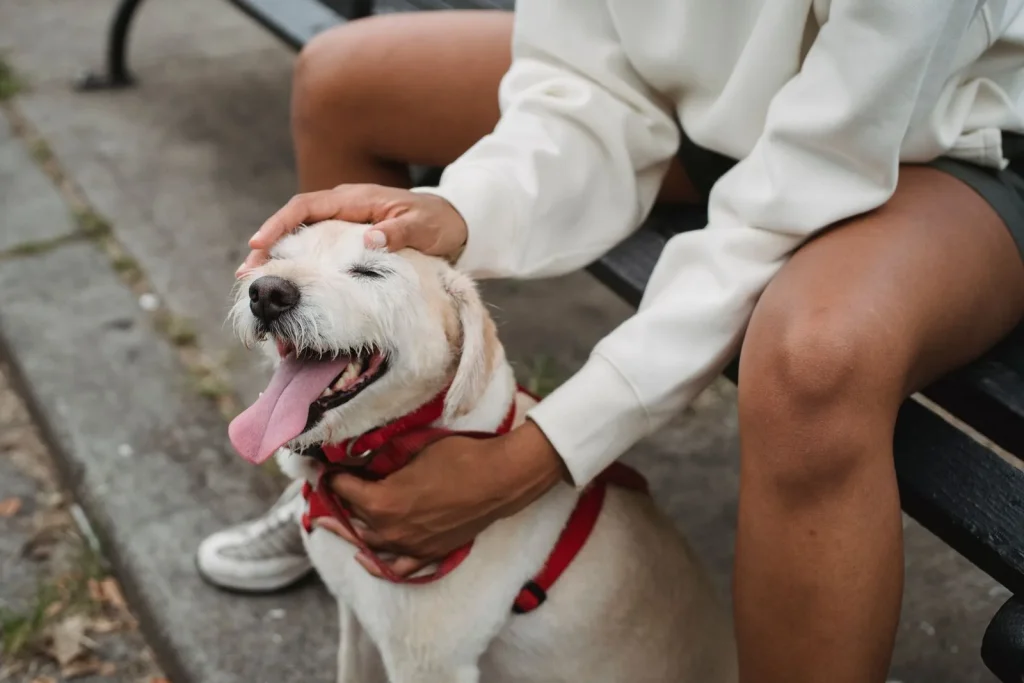
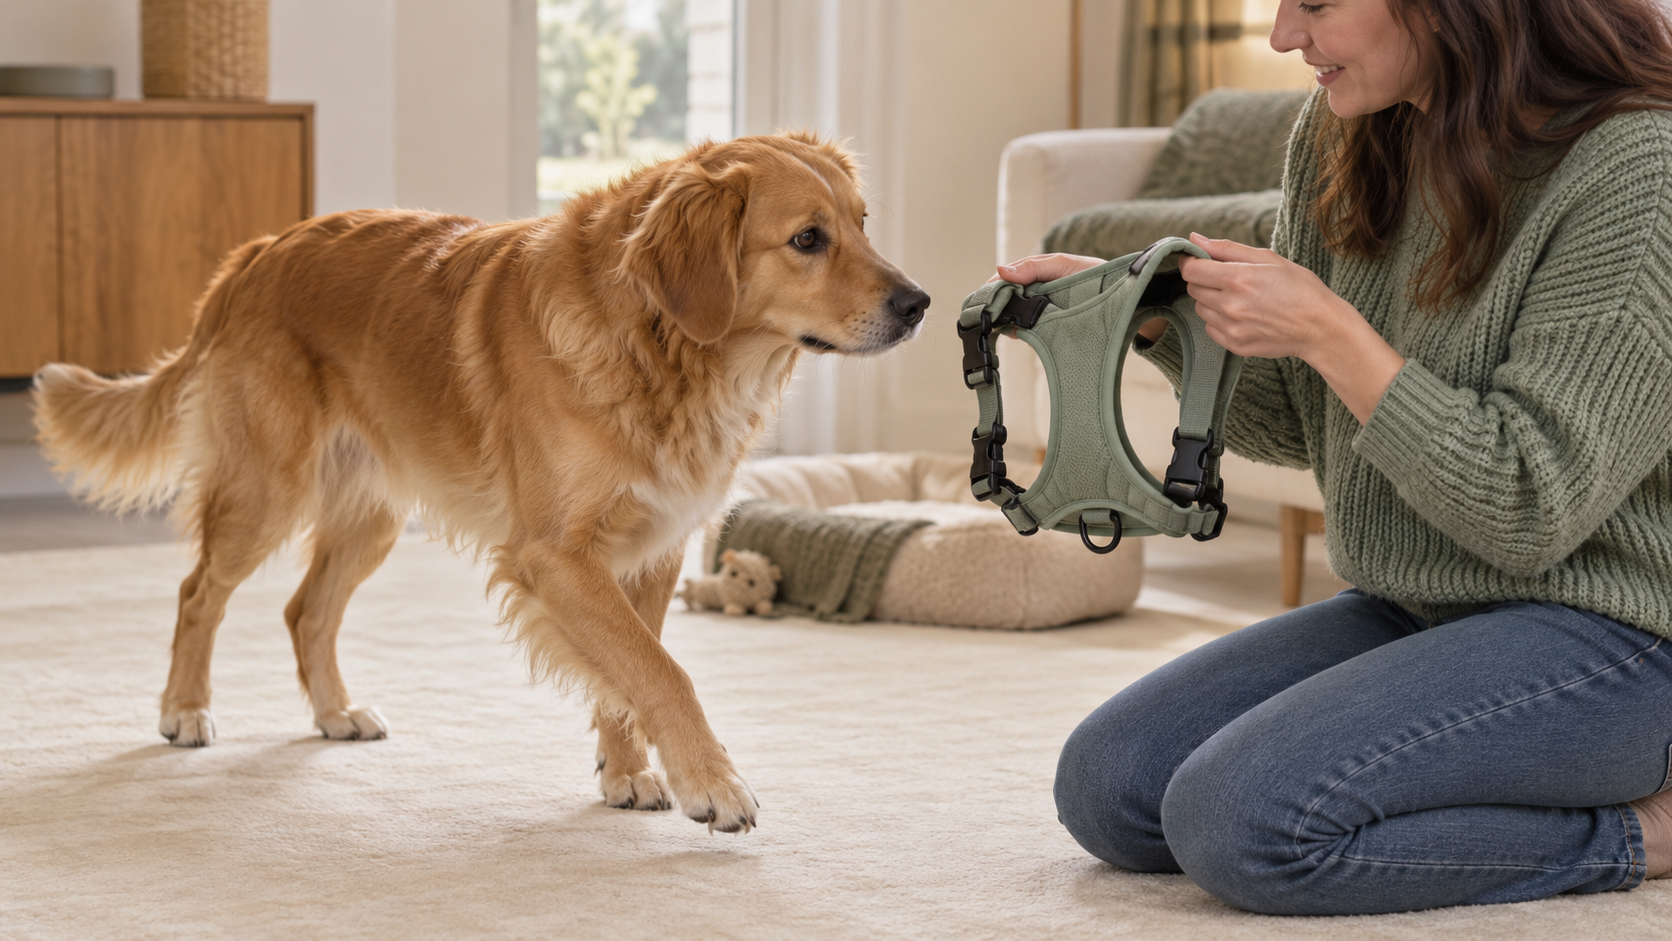
Many dogs accept a harness right away. If yours backs away, freezes, or tries to avoid it, slow down and break the process into short, rewarding steps. Each stage can take one or several sessions.
- Investigate: put the harness on the floor and scatter a few treats around it. Let your dog sniff and move away freely.
- Treats through the opening: hold the harness up and feed a treat through the head opening with your hand through it, so your dog does not need to put their head in yet.
- Head through: hold the treat a little further back so your dog chooses to push their nose through to reach it. If they are relaxed, rest the harness loosely on the neck without fastening it, and keep rewarding. For a step-in harness, reward your dog for placing one foot, then both feet, in the openings.
- Clip sounds: click the buckles closed while holding the harness away from your dog so they hear the sound. Then put the harness on, give a treat, fasten it, and give another treat straight away.
- Wear it briefly: let your dog wear the harness indoors while you play or practice an easy trick. Then try a short walk with occasional treats.
If your dog struggles at any stage, go back to the previous step for a while before moving on. Signs of worry can be subtle and easy to miss, so watch closely and stop if your dog seems uneasy, and never pull the harness over a reluctant dog’s face or use food to keep them in handling they want to leave.
Once wearing the harness is easy, add the leash and the trip out the door. Our before-walk routine helps keep that part calm, and loose-leash walking for beginners covers the next step. A front-clip harness can make pulling easier to manage, but loose-leash walking is still a skill your dog needs to learn.
Common mistakes
- Putting the harness on backward or upside down. Check that the leash ring ends up where your harness design says it should.
- Leaving straps loose because the buckle closed. A dog can back out of a loose harness.
- Tightening one strap too much to make up for another. For example, a loose girth strap with a tight chest strap can let straps slide into the armpits and cause chafing.
- Letting the chest strap sit across the throat.
- Fitting once and never checking again, especially with a growing puppy.
- Rushing a hesitant dog. Forcing the harness on can make the next attempt harder.
- Leaving the harness on when no one is supervising. Like a collar, it can get caught.
FAQ
Should a dog wear a harness all the time?
Generally, no. A harness can catch on things, and straps under the front legs can rub. Take it off when you are not supervising your dog, such as when they are home alone or in a crate. Vets quoted in consumer guides differ on supervised daytime wear, so ask your vet if you are unsure about your dog.
Harness or collar for a puppy?
For leash walking, a well-fitted harness is often preferred because a collar puts pressure on the neck when a dog pulls. A harness works well for a growing puppy as long as you adjust it or size up as they grow. Many owners still use a collar to carry ID tags.
How tight should a harness be?
Snug but not uncomfortable. You should be able to slide about two fingers under each strap, the harness should not shift much as your dog moves, and it should not slip over the head when you pull it forward.
If your dog seems sore, limps, or suddenly resists being touched or handled, stop and talk to your veterinary team. Pain can be the reason. For ongoing fear of equipment or handling, your vet can rule out a medical cause and refer you to a qualified, reward-based behavior professional.
Sources and editorial notes
- American Kennel Club: How to Put on a Dog Harness (steps for standard, step-in, and front-clip harnesses; two-finger check)
- American Kennel Club: Choosing the Right Dog Harness (harness types, snug fit, puppies, rechecking fit)
- PetSafe: How to Fit the Easy Walk Harness and PetSafe support: adjusting the Easy Walk for the best fit (front-clip fitting steps, sideways T check)
- PetSafe support: straps rubbing or loosening (armpit chafing causes)
- Edmonton Humane Society: Selecting and Fitting a Dog Harness (harness styles, two-finger rule, strap position, supervision)
- Dogs Trust: Harness training (step-by-step introduction, signs of worry)
- Cummings School of Veterinary Medicine at Tufts: Dog collars and harnesses (harness vs collar)
- Vet Times: Advising owners on dog harnesses (non-restrictive fit, friction)
- PetsRadar: Is it safe to leave a harness on a dog all the time? (veterinarian comments on daytime wear and armpit rubbing)
This is general guidance. Harness designs vary, so check your product’s own fitting instructions, and ask your veterinary team about any individual comfort or movement concerns. Prepared with AI assistance and reviewed against the sources above.